Painting a rose might sound tricky at first, but it doesn’t have to be complicated.
With just a few easy techniques, you can create a beautiful oil painting of a rose that looks natural and lively.
Step 1: Sketch a Basic Spiral
Start your rose by drawing a small loose spiral in the center.
Think of it like drawing a cinnamon roll!
This spiral will be your rose’s heart and will keep your painting nice and simple.
Step 2: Build Loose Petals Around It
From the spiral, draw curvy petal shapes outward, like waves spreading on water.
Don’t worry about symmetry—real roses are messy and beautiful.
Big tip: overlap the petals a little bit to create depth!
Step 3: Choose a Soft Color Palette
Pick 3–4 colors max. A beginner-friendly palette:
- Light pink
- Deep red
- White
- Sap green for leaves
Mix colors loosely; don’t overblend, because slight color variation adds realism.
Step 4: Block In Big Shapes
Use a medium brush to lay down basic colors:
- Darker reds toward the inside
- Lighter pinks toward the outer petals
Remember: work dark to light for richer results.
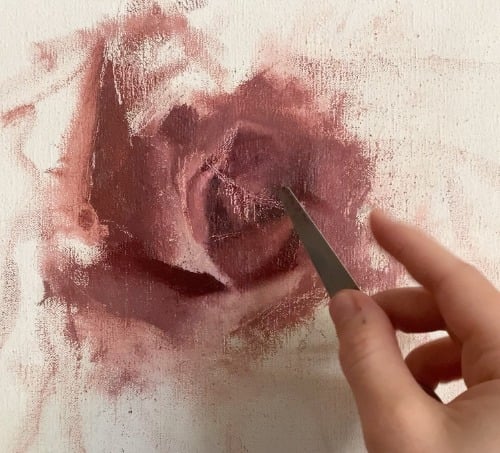
Step 5: Add Simple Details
Once the first layer dries slightly, gently highlight petal edges with white or very pale pink.
You don’t need sharp outlines. Soft touches are better!
Final Thoughts
Painting roses in oil can be easy and super rewarding.
If you’re in love with floral beauty but not ready to paint yet, explore stunning abstract wall art rose pieces at okarty.com!