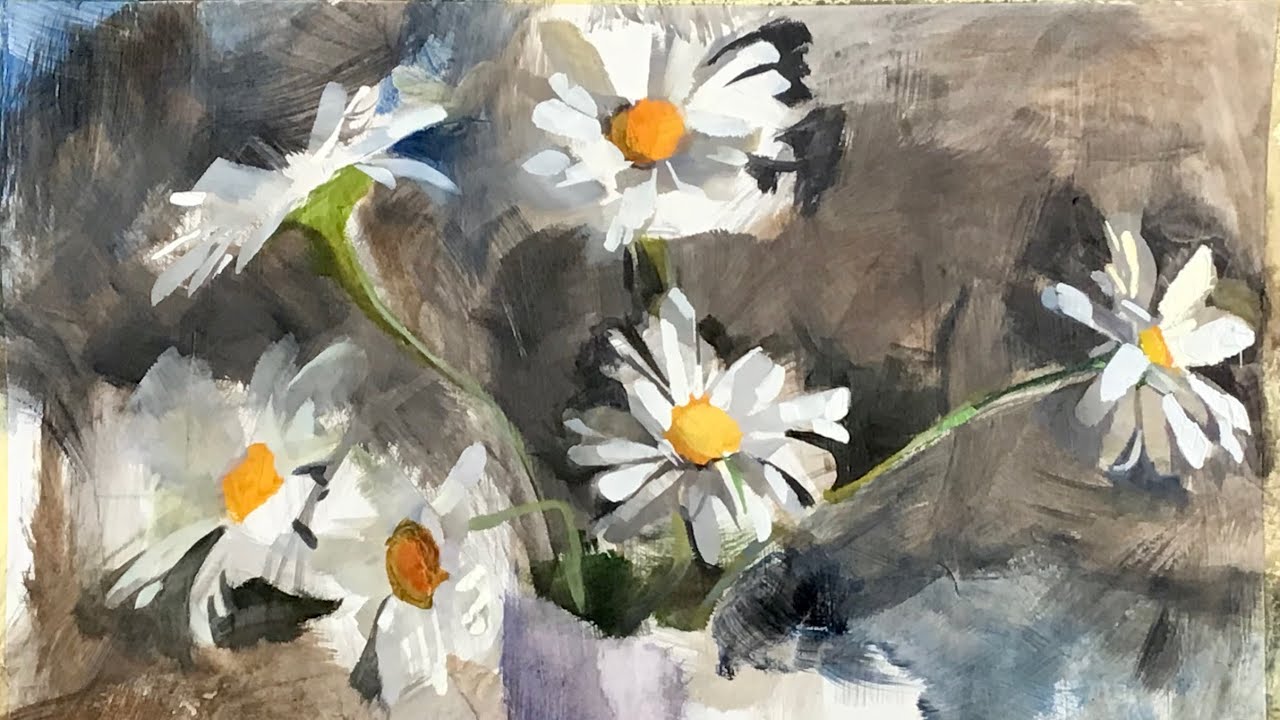
Daisies are the ultimate symbol of simplicity and joy. With their white petals and bright yellow centers, they bring a fresh, cheerful vibe to any painting. Best of all? They’re easy to paint, even if you’re just getting started with oil painting.
Let’s walk through a fun, relaxed approach to creating your own daisy oil painting—even if you’ve never picked up a brush before.
Start with the Basics: Sketching the Daisy Shape
Before you dive into the paint, take a moment to sketch the daisy outline.
- Draw a small circle for the center.
- Then sketch long, oval-shaped petals all around it. Keep them spaced evenly, but don’t stress over perfection. Nature isn’t perfect either!
You can use a pencil or lightly mark it out with a thin brush and diluted paint. This helps keep your composition balanced before the colors go on.
Choosing Your Colors: Keep It Light and Cheerful
You don’t need a huge palette for daisies. Here’s a simple list to get started:
- Titanium White – for the petals
- Cadmium Yellow Light – for the flower center
- Burnt Umber or Ultramarine Blue – for shadows
- Sap Green + Yellow Ochre – for leaves and stems
- Light Blue or Soft Beige – for the background
Mix your white with a tiny bit of blue or gray to add depth to the petals. Pure white can look flat, so giving it a slight hue helps the painting pop.
Painting the Center: The Daisy’s Heart
Start with the yellow center first. It’s what draws the eye and sets the tone.
Dab in Cadmium Yellow Light and then deepen it with a touch of orange or Burnt Sienna around the edges to create dimension. Don’t forget to let some of the paint stay thick in the middle—texture gives it energy.
If you want to see how textured daisy centers really bring a painting to life, check out OKarty’s floral oil painting collection. You’ll get a real feel for how the professionals do it with confidence and style.
Petals in Motion: Light Touch, Big Impact
Use a small, flat or filbert brush to paint the petals. Pull strokes outward from the center, following the oval guides you sketched.
A few tips:
- Add shadows underneath petals with a hint of gray.
- Leave a little space between petals so they don’t look like a big white blob.
- Let some petals overlap each other for realism.
Don’t try to make each one identical—variation is charm.
Simple Leaves and Stems
Use Sap Green with a bit of Yellow Ochre or even Viridian. Long, curved strokes make the leaves look soft and flowing. Keep the stems thin and natural-looking.
Try not to overdo it—daisies often look best with minimal greenery.
Background Vibes: Calm or Bold?
You can keep it light and pastel for a springtime feel, or go bold with a dark background to make the petals shine. It depends on your personal taste or room decor.
For some visual inspiration or ready-to-hang daisy-themed art, check out OKarty.com. You might even decide to add a piece to your home gallery!
Wrapping Up
Painting daisies is like a breath of fresh air. They don’t demand perfection. They just need a little joy and flow. Whether you’re painting for fun or hoping to decorate your wall with something handmade, daisies are always a great start.
So go ahead—paint those petals, splash that yellow center, and let your brush dance a little.