Bring the Beauty of Spring to Canvas
Tulips are a timeless symbol of spring, freshness, and elegance. If you’re just starting out with oil painting, tulips make an excellent subject to practice color blending, form, and light. They’re not too complex in structure, yet they offer enough variation to explore your creative side.
So, let’s dive into a step-by-step guide on how to paint tulips in oil – it’s easier than you think!
Step 1: Gather Your Supplies
Before we start, make sure you’ve got everything ready:
- Oil paints: Cadmium Red, Yellow Ochre, Titanium White, Sap Green, Ultramarine Blue
- Linseed oil or your preferred medium
- Paintbrushes (round and flat, sizes 2 to 8)
- Palette and palette knife
- A canvas board or stretched canvas (8″x10″ or 12″x12″ works great)
Step 2: Sketch the Basic Shape
Start by drawing a few tulip outlines using a soft pencil or a thinned-out burnt sienna paint. Keep the lines loose. Tulips generally have an oval bud shape and long, curved leaves – don’t worry about perfection here.
Think of the composition too. Do you want one tulip as a focal point, or a small bouquet? If it’s your first time, go with one or two flowers for simplicity.
Step 3: Block in the Colors
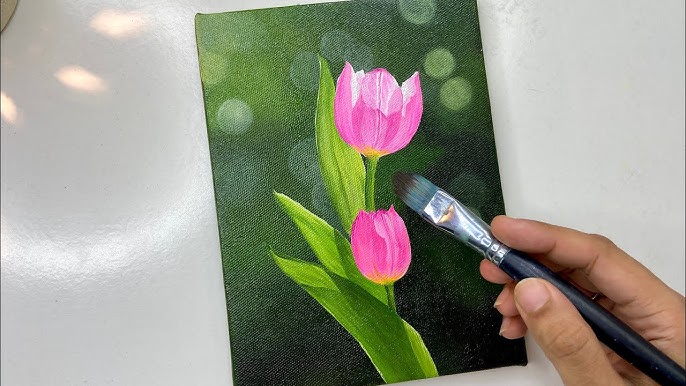
Mix a base color for the petals – a soft red or pink is ideal. Start with the mid-tones and work outward. Use quick, confident strokes. Add highlights with titanium white and deepen the shadows with a touch of blue or even violet.
Leaves and stems come next. Use Sap Green mixed with Yellow Ochre for a more natural look. Don’t make the greens too bright – tulip leaves have a subtle, dusty tone.
Step 4: Add Details and Texture
Here’s where oil paint shines – literally. Let your brush capture the gentle curves of the petals and the veins in the leaves. You can even use a palette knife to add some texture to the petals, giving them a tactile, realistic finish.
Remember, tulips have smooth petals but with distinct separations. Create some sharp edges where petals overlap and soften others where light diffuses.
Step 5: Final Touches
Step back and observe your painting. Add a few more highlights where the light hits, and adjust your shadows if needed. You don’t have to make it too perfect – sometimes a bit of looseness adds charm and life.
Don’t forget to sign your name once you’re happy with the result!
Displaying Your Tulip Art
Once dried, your tulip oil painting can beautifully decorate your living space. Tulip paintings bring a sense of freshness and peace – perfect for bedrooms, hallways, or even modern offices.
They also make great gifts – everyone loves flowers, right?
Final Thoughts
Painting tulips in oil doesn’t have to be complicated. With a few basic tools and some practice, you’ll be amazed at how expressive your work can become. And remember, it’s not about getting every petal perfect. It’s about capturing the feeling of tulips.
So, ready to start your floral art journey?