Keeping your oil paint brushes clean is essential for achieving consistent results and extending their lifespan. Whether you’re a beginner or an experienced artist, learning the traditional methods for cleaning brushes can protect your investment and ensure better future paintings.
Why Cleaning Brushes Matters
Oil paint is made from pigments mixed with oil, which makes it more stubborn to clean than water-based paints. If not properly cleaned, the oil residue can dry and harden, damaging the bristles.
Step-by-Step Cleaning Process
1. Wipe Excess Paint First Before introducing any cleaning agent, use a rag or paper towel to gently wipe off as much paint as possible from your brush.
2. Use Artist-Grade Solvents Pour a small amount of turpentine or mineral spirits into a glass jar. Swirl the brush gently in the solvent, making sure not to mash the bristles. Repeat with clean solvent if needed.
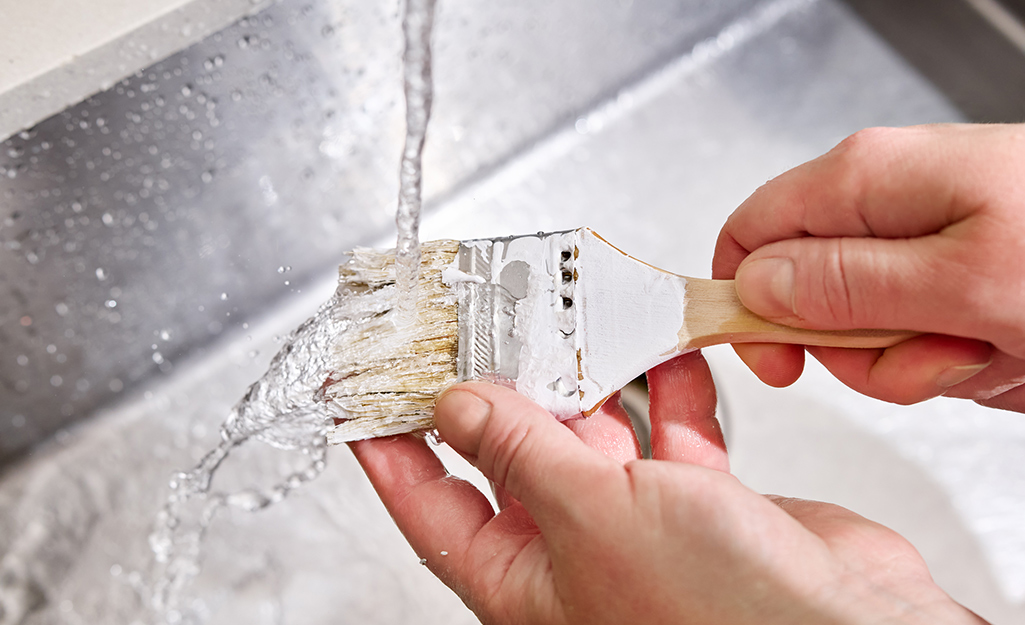
3. Follow Up With Soap and Warm Water Once most of the paint is removed, wash the brush with warm water and a mild soap (preferably brush soap). Gently massage the bristles with your fingers to ensure all paint and solvent residues are gone.
4. Reshape and Dry Use a paper towel or cloth to blot the brush and reshape it. Let it air dry flat or bristle-side up.
Final Tips
- Never soak brushes in solvent for too long.
- Store brushes properly once dry.
Why This Method Works
This traditional method is tried and tested. It maintains brush softness and prevents paint build-up over time.
Reference Reading
“How to Properly Clean Paintbrushes After Oil Painting: A Beginner’s Guide“